

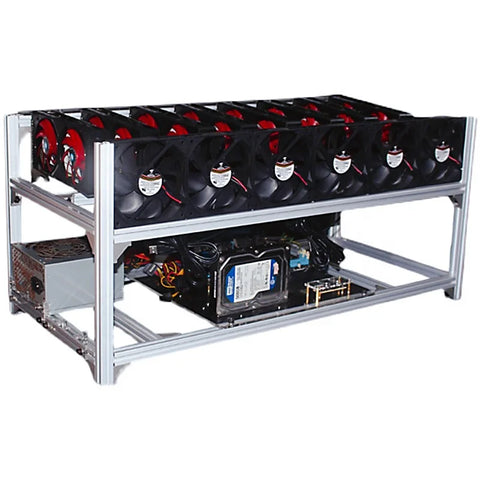
Welcome to our blog where we delve into the world of hardcore PC gaming and mining with the ultimate 8-GPU steel graphics rig frame. Whether you're a gamer looking to push your rig to its limits or a crypto enthusiast seeking to maximize mining efficiency, this guide is for you. Today, we'll explore the benefits of a sturdy steel frame and provide a step-by-step guide on how to assemble your own powerhouse rig.
Why Steel? When it comes to constructing a high-performance rig, durability is key. That's where steel comes in. Unlike aluminum or plastic frames, steel offers unmatched strength and stability, ensuring your components stay secure even during intense gaming sessions or prolonged mining operations. Additionally, steel provides excellent heat dissipation, keeping your GPUs cool for optimal performance.
Key Features:
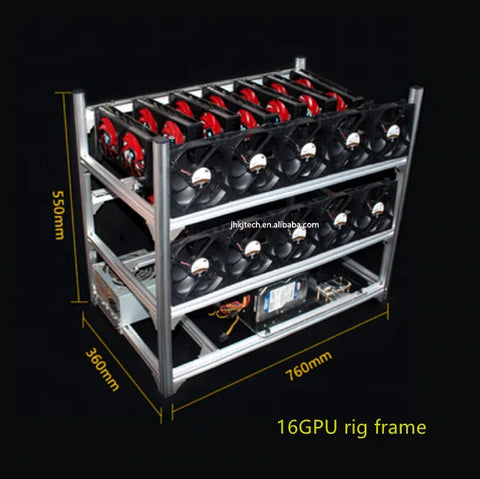
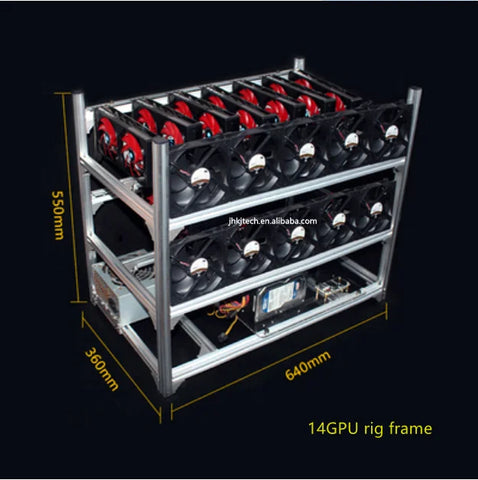
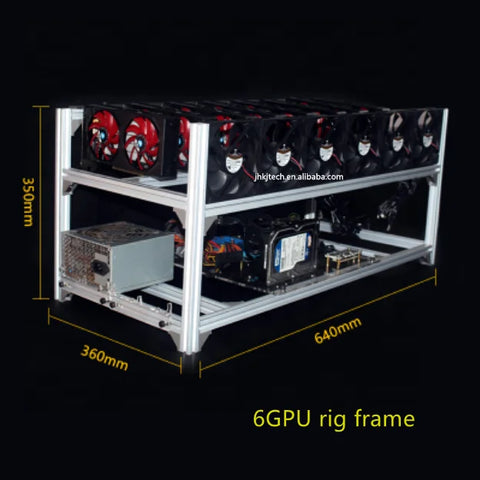
- Sturdy Construction: Our 8-GPU steel frame is built to last, with reinforced corners and crossbars to support the weight of multiple graphics cards.
- Ample Space: With ample room for up to 8 GPUs, this frame allows you to maximize your computing power without sacrificing stability.
- Easy Assembly: Designed with convenience in mind, our frame features simple, tool-less assembly, so you can spend less time building and more time gaming.
- Versatility: Whether you're using AMD or NVIDIA GPUs, our frame accommodates a variety of card sizes and configurations, making it perfect for gaming, mining, or both.
- Modular Design: The modular design of our frame allows for easy customization and expansion, so you can add or remove components as needed without hassle.
Step-by-Step Assembly Guide:
- Gather Your Components: Before you begin, make sure you have all the necessary components, including the steel frame, motherboard, GPUs, power supply, and cooling system.
- Prepare the Frame: Lay out the steel frame on a flat surface and ensure all the necessary components are included. Check for any damaged or missing parts before proceeding.
- Install the Motherboard: Place the motherboard onto the designated mounting points on the frame and secure it in place using the provided screws.
- Mount the GPUs: Carefully install each GPU onto the frame, ensuring they are properly aligned with the PCIe slots on the motherboard. Use screws to secure the GPUs in place.
- Connect the Power Supply: Install the power supply unit (PSU) onto the frame and connect the necessary cables to the motherboard and GPUs. Make sure all connections are secure.
- Add Cooling Solutions: Depending on your setup, install fans or a liquid cooling system to ensure adequate cooling for your components. Position them strategically to maximize airflow.
- Cable Management: Take the time to tidy up your cables and ensure everything is neatly organized. This not only improves airflow but also reduces the risk of overheating.
- Test Your Rig: Before powering on your rig, double-check all connections and make sure everything is properly installed. Once satisfied, power on your rig and test for functionality.
Conclusion: Congratulations! You've successfully built your own 8-GPU steel graphics rig frame. Whether you're gaming at max settings or mining for cryptocurrencies, this powerhouse rig is sure to deliver the performance you need. With its durable construction, ample space, and easy assembly, our steel frame is the ultimate choice for serious gamers and miners alike. So go ahead, unleash the full potential of your rig and experience gaming and mining like never before!